
Seed-saving is a great way to propagate your own garden from year to year. Not only does it save you from repurchasing new plants from your local greenhouse every spring, but it will result in your plants adapting to the specific environment and climate in which you are growing them. Eventually, you will be growing what are considered to be “heirloom” plants because they’re descendants of your own plants from the previous years.

While growing your own food can save you some expense at the supermarket, gathering the materials to get started can add to the cost of your first year or two of gardening. If you’re going to put the time and effort into raising a garden, saving your seeds is a good way to add to the value of your efforts.
Selecting Plants from Which to Harvest Seeds
Which veggies or fruits should you choose to harvest the seeds? If you have some plants in your garden that don’t look as healthy or haven’t had as high of a yield as others, those are not the plants you’re going to want to save from. Instead, choose fruits and vegetables from the healthiest looking and highest-yielding plants that you have. (1)
How to Save Seeds
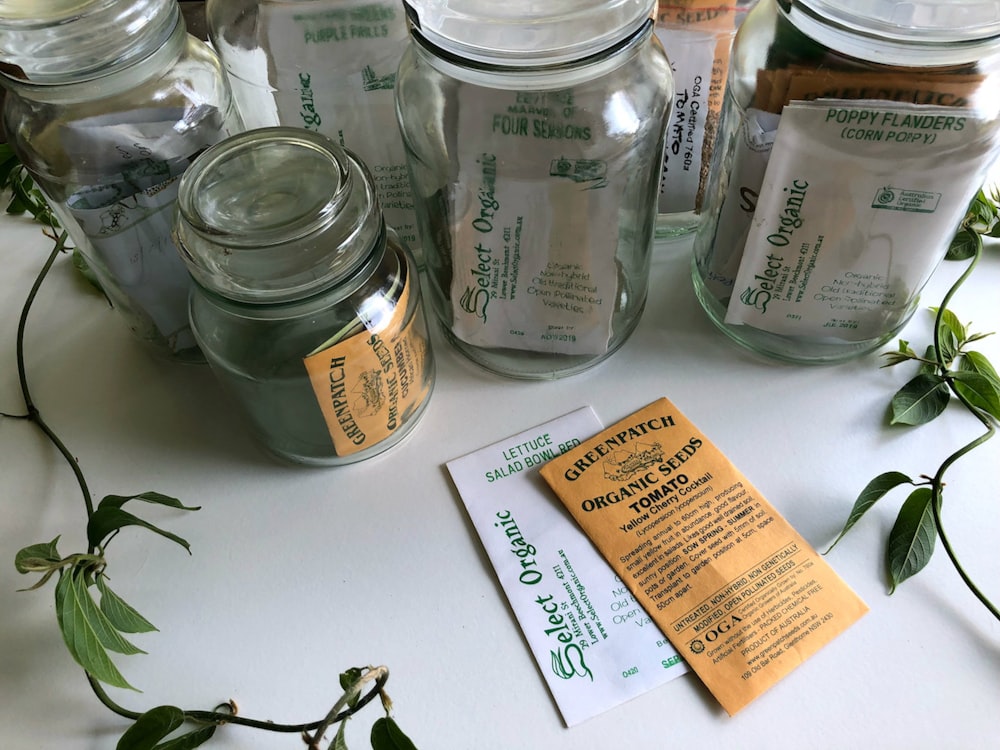
You will need some envelopes or small bags for each different type of seed that you can label and store in a cool, dry place. When preparing seeds for storage, keep in mind that different types of seeds need to be treated differently to preserve them properly, and you’ll need to learn the best techniques for each fruit or vegetable. Here are a few notes on some common garden plants you might want to propagate yearly.
Tomatoes
Preserving tomato seeds takes a little finesse. If you’ve cut open a tomato, you know that the seeds inside are suspended in a gel-like substance. This gel needs to be removed from the seeds in the preservation process.
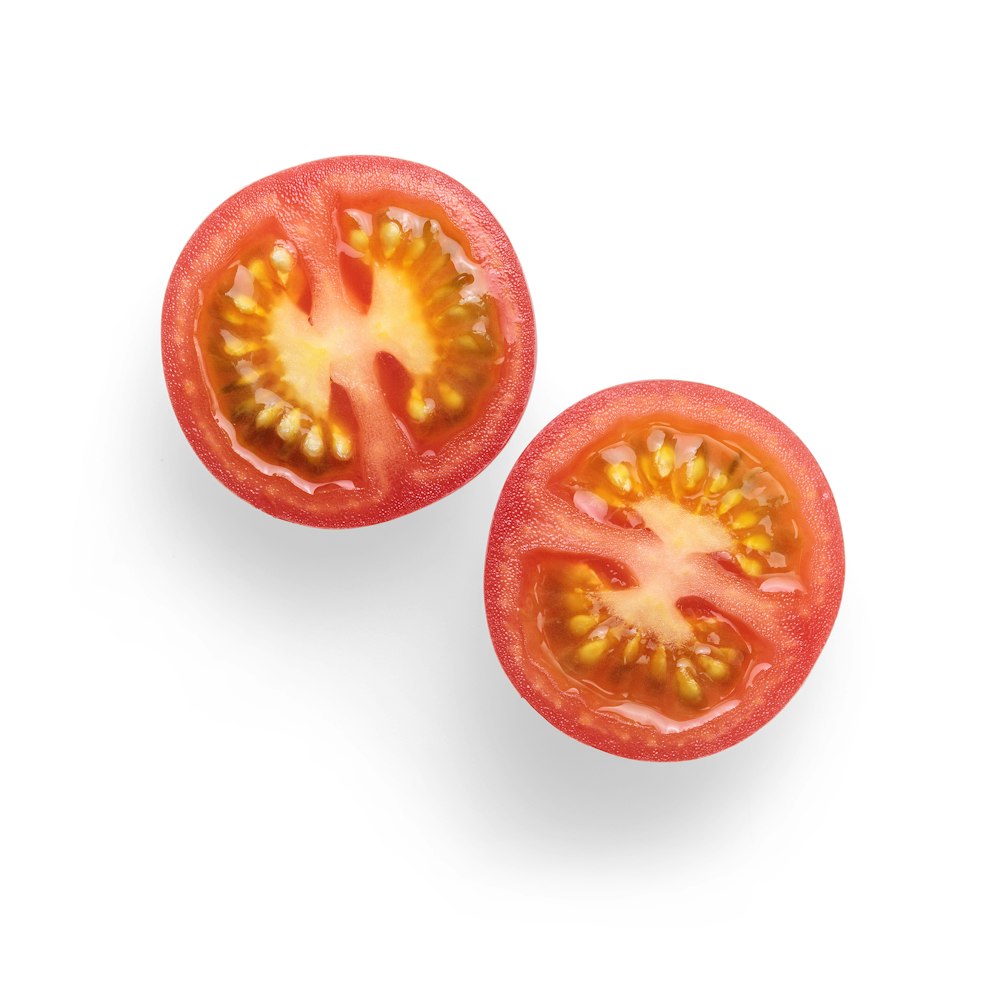
Collect the seeds by cutting open the tomato and scooping out the seeds and gel. You will remove the gel by fermenting the seed-gel mixture in a jar of water for 2-5 days.
During fermentation, stir the mixture daily. After the pulp floats to the top and the seeds sink to the bottom, the seeds are ready to be cleaned. You can remove some of the pulp from the surface before pouring the mixture through a strainer to separate the seeds. Remove any extra pulp from the seeds by prodding them gently with the back of a spoon.
Blot the extra water from the seeds with a paper towel and lay it out to dry on a glass plate or other non-stick surface for two to three weeks, making sure to place the drying plate out of direct sunlight. (2)
Peppers
Saving pepper seeds is slightly more straightforward than tomatoes. After selecting which plant you’d like to save from, allow one of the peppers to remain on the plant until it ripens and starts to wrinkle. Then, simply cut open the pepper and remove the seeds. Discard any seeds that don’t look healthy. Set them out to dry on a paper towel for about a week, until the seeds are brittle and can’t be dented with your fingernail. (3)
Cucumbers
The method for saving cucumber seeds is similar to that of saving tomato seeds. They’re covered in a gel-like pulp that needs to be removed through fermenting in water for a few days. The viable seeds are the ones that sink, while any seeds that still float after 2-3 days should be discarded. After you have a good collection of viable seeds in your fermentation jar, strain, rinse, and dry the cucumber seeds just like you would tomato seeds. (4)
Strawberries
Saving strawberry seeds can be a bit tricky. Pick a few good and ripe berries and put them in a blender with about one liter of water. Blend on the lowest speed for about ten seconds. As with the veggies mentioned thus far, the best viable seeds will sink. Discard anything that floats and strain the remaining liquid to get the viable seeds. Dry thoroughly on a paper towel. (5)
Storing Seeds
Seeds should be stored in a container with an air-tight seal, so they won’t be compromised by any moisture. Instead of several small glass jars that could take up a lot of space, having one larger jar will be more efficient. Just package each type of seed in its envelope, label it with the name and date, and put the envelopes together in the large jar. You can also add a desiccant to the jar, to help absorb extra moisture, in the form of silica gel or a couple of tablespoons of powdered milk wrapped in tissue paper. (6)
Using Saved Seeds
Most preserved seeds will keep for several years, but the exact time will depend on the variety of the plant. When pulling from your seed store to replant in the following years, pull your saved seeds in order from oldest to newest.
Storing Your Seeds will Help Your Garden be Self-Sustaining for Years to Come
Once you have a garden started, saving seeds will allow you to go years without buying additional plants. Propagating your garden each year with seeds from the plants of the previous season will often result in hearty plants that are more resistant to any hardships their parent plants dealt with.
If you’re a beginner gardener, saving seeds will help you get to know the plants you are tending. You will notice which plants seem to be thriving more than their counterparts as you select the crops from which to save seeds, and you will likely be able to connect your gardening routine to why some plants are doing better than others.
Checklist: Materials for Saving Seeds
- Knife and a cutting board
- Spoon
- Glass jars for fermentation (no lids necessary)
- Envelopes for seed storage
- Large air-tight container
- Silica pellets or powdered milk for desiccant
Saving Seeds Checklist Downloadable File
Sources
- https://www.growveg.com/guides/saving-seeds-from-your-homegrown-vegetables/
- https://www.growveg.com/guides/how-to-prepare-and-store-seeds-from-your-tomato-plants/#:~:text=Storing%20Tomato%20Seeds,for%20up%20to%20five%20years.
- https://www.gardeningknowhow.com/edible/vegetables/pepper/harvesting-pepper-seeds.htm#:~:text=Store%20seeds%20in%20a%20cool,the%20seed%20dry%20and%20cool.
- https://www.thespruce.com/saving-cucumber-seeds-from-your-garden-2539694
- https://www.gardeningknowhow.com/edible/fruits/strawberry/strawberry-seed-growing.htm
- https://extension.umn.edu/planting-and-growing-guides/saving-vegetable-seeds#storage-823211